From Monday 3rd October:
So there was a light experimenting day in the studio and I really enjoyed it! We had different bays of different tasks, in my lovely group, our first task was multiple exposure.
 |
| (ISO - 200) f5 1/13 |
 |
| (ISO - 200) f5 1/5 |
 |
| (ISO - 200) f5 1/3.2 |
So these were our first multiple exposures, by changing the shutter speed and the brightness of the flash gun, the image darkened so that the distracting flash bounce on the background slowly dulled down. We then carried on for a while using this setting.
 |
| (ISO - 200) f5 1/3.2 (for all) |
We then changed the aperture number, as we felt it was too dark.
 |
| (ISO - 200) f9 1/3.2 (for both) |
After feeling like the flash wasn't illuminating properly, we tried to move the position of the flash gun.
 |
| (ISO - 200) f9 1/3.2 (for all) |
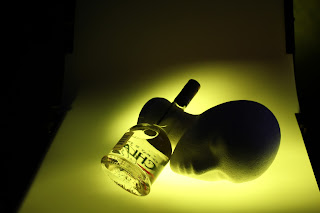
Then we moved onto lights with still life. We had torches and glow sticks to help create our effects.
What we did here was put a glow stick behind the bottle.
We then moved an added glow stick around the bottle creating streaky patterns, sadly this wasn't quite in the frame.
So we then zoomed out to try again, but we decided that the original framing was best for this, just closer glow stick waving!
 |
| (ISO - 200) f6.3 1/5 (for all) |
So I decided to swap the colours around and wave the glow stick swirling closely around the bottle, I think a crop would make this photo look better.
Just like this!..I even darkened the shadows.
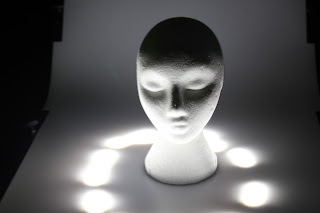
Using the torch underneath, we slowly moved it around in small shifty movements to create these spots, then did it a second time with a second light shining still on top of the head.
Then we decided to try out just the still torch light alone in a couple of places.
 |
| (ISO - 200) f6.3 1/5 (for all) |
Looking through the photo settings, there was no point in which we actually changed settings, we just changed lights and object positions, so take a look at more creations we did :)
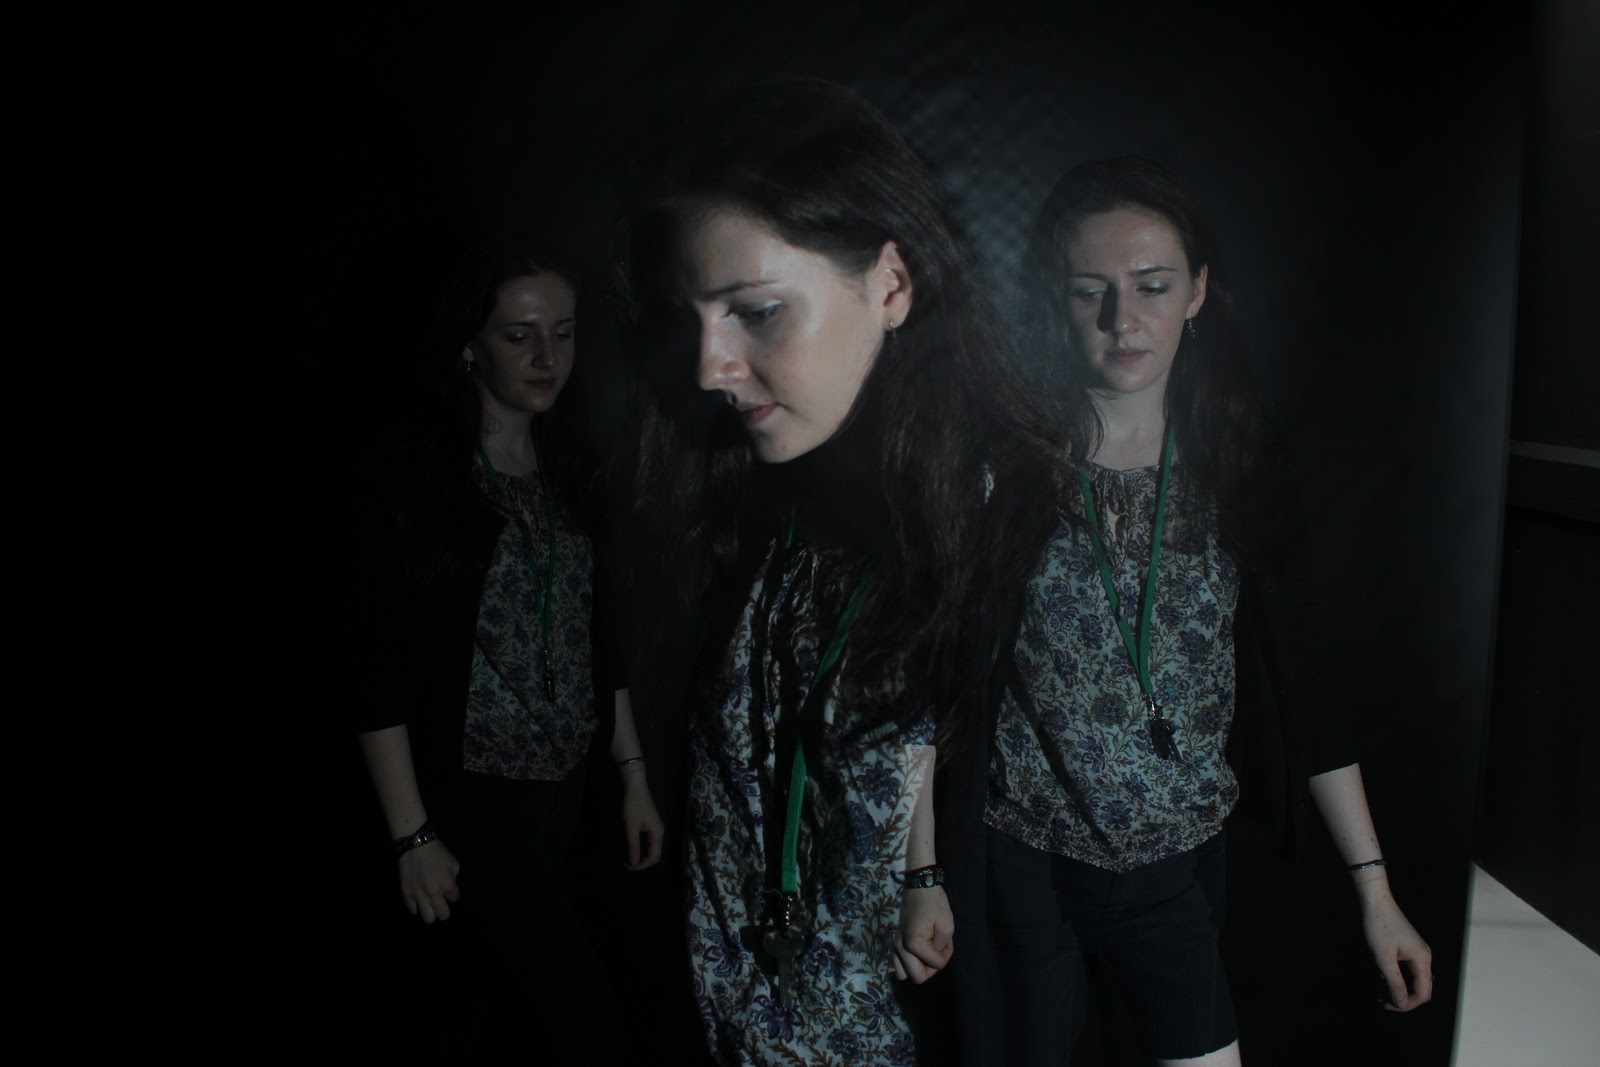
Next task was drawing with light around people.
 |
| (ISO - 320) f5 1/20 |
 |
| (ISO - 320) f5 1/20 |
Here you can see we tried out drawing the light facing the subject, but it didn't work, however drawing it behind the subject (or light at least facing the camera) works perfectly. In fact, with this again, we did not change any of the settings within the camera. We just used alternate people, light shapes and we added the flash gun too, we'd flash it just once so that the subject was lit and not a random silhouette. Here are more creations!
 |
| Oh, um, yeah, we decided to put a glow stick in a cheese grater on her head, don't ask. |
 |
| (ISO - 320) f5 1/20 (for all) |
Our final task was writing with light, I had to sit this one out at the time because I started feeling rather unwell, but I watched and was aware of what was happening.
I have noticed that the bigger the drawing, the longer time the exposure it needs because it has more light to take in.
 |
| (ISO - 320) f6.3 1/20 |
 |
| (ISO - 320) f6.3 1/15 |
 |
| (ISO - 320) f6.3 1/25 |
 |
| (ISO - 320) f6.3 1/25 |
 |
| (ISO - 320) f6.3 1/25 |
I have realised, that with light drawing, all you really need to do is have a rough idea of a long shutter speed and wide aperture, then you're good to go with trying out different things in front of the camera!
Comment 5/10/11 - I would definitely do these tasks again just purely to experiment with different looks in these images. I could see myself using these techniques in the future with my favourite areas of photography also. I may less likely do the still life type subject light painting as I'm not much of a still life photographer, however, perhaps with something like guitars for adverts or something within my interests, this technique may come in handy!


No comments:
Post a Comment